13Jun
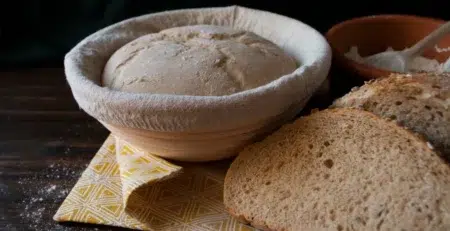
How do you use a proofing basket?


-
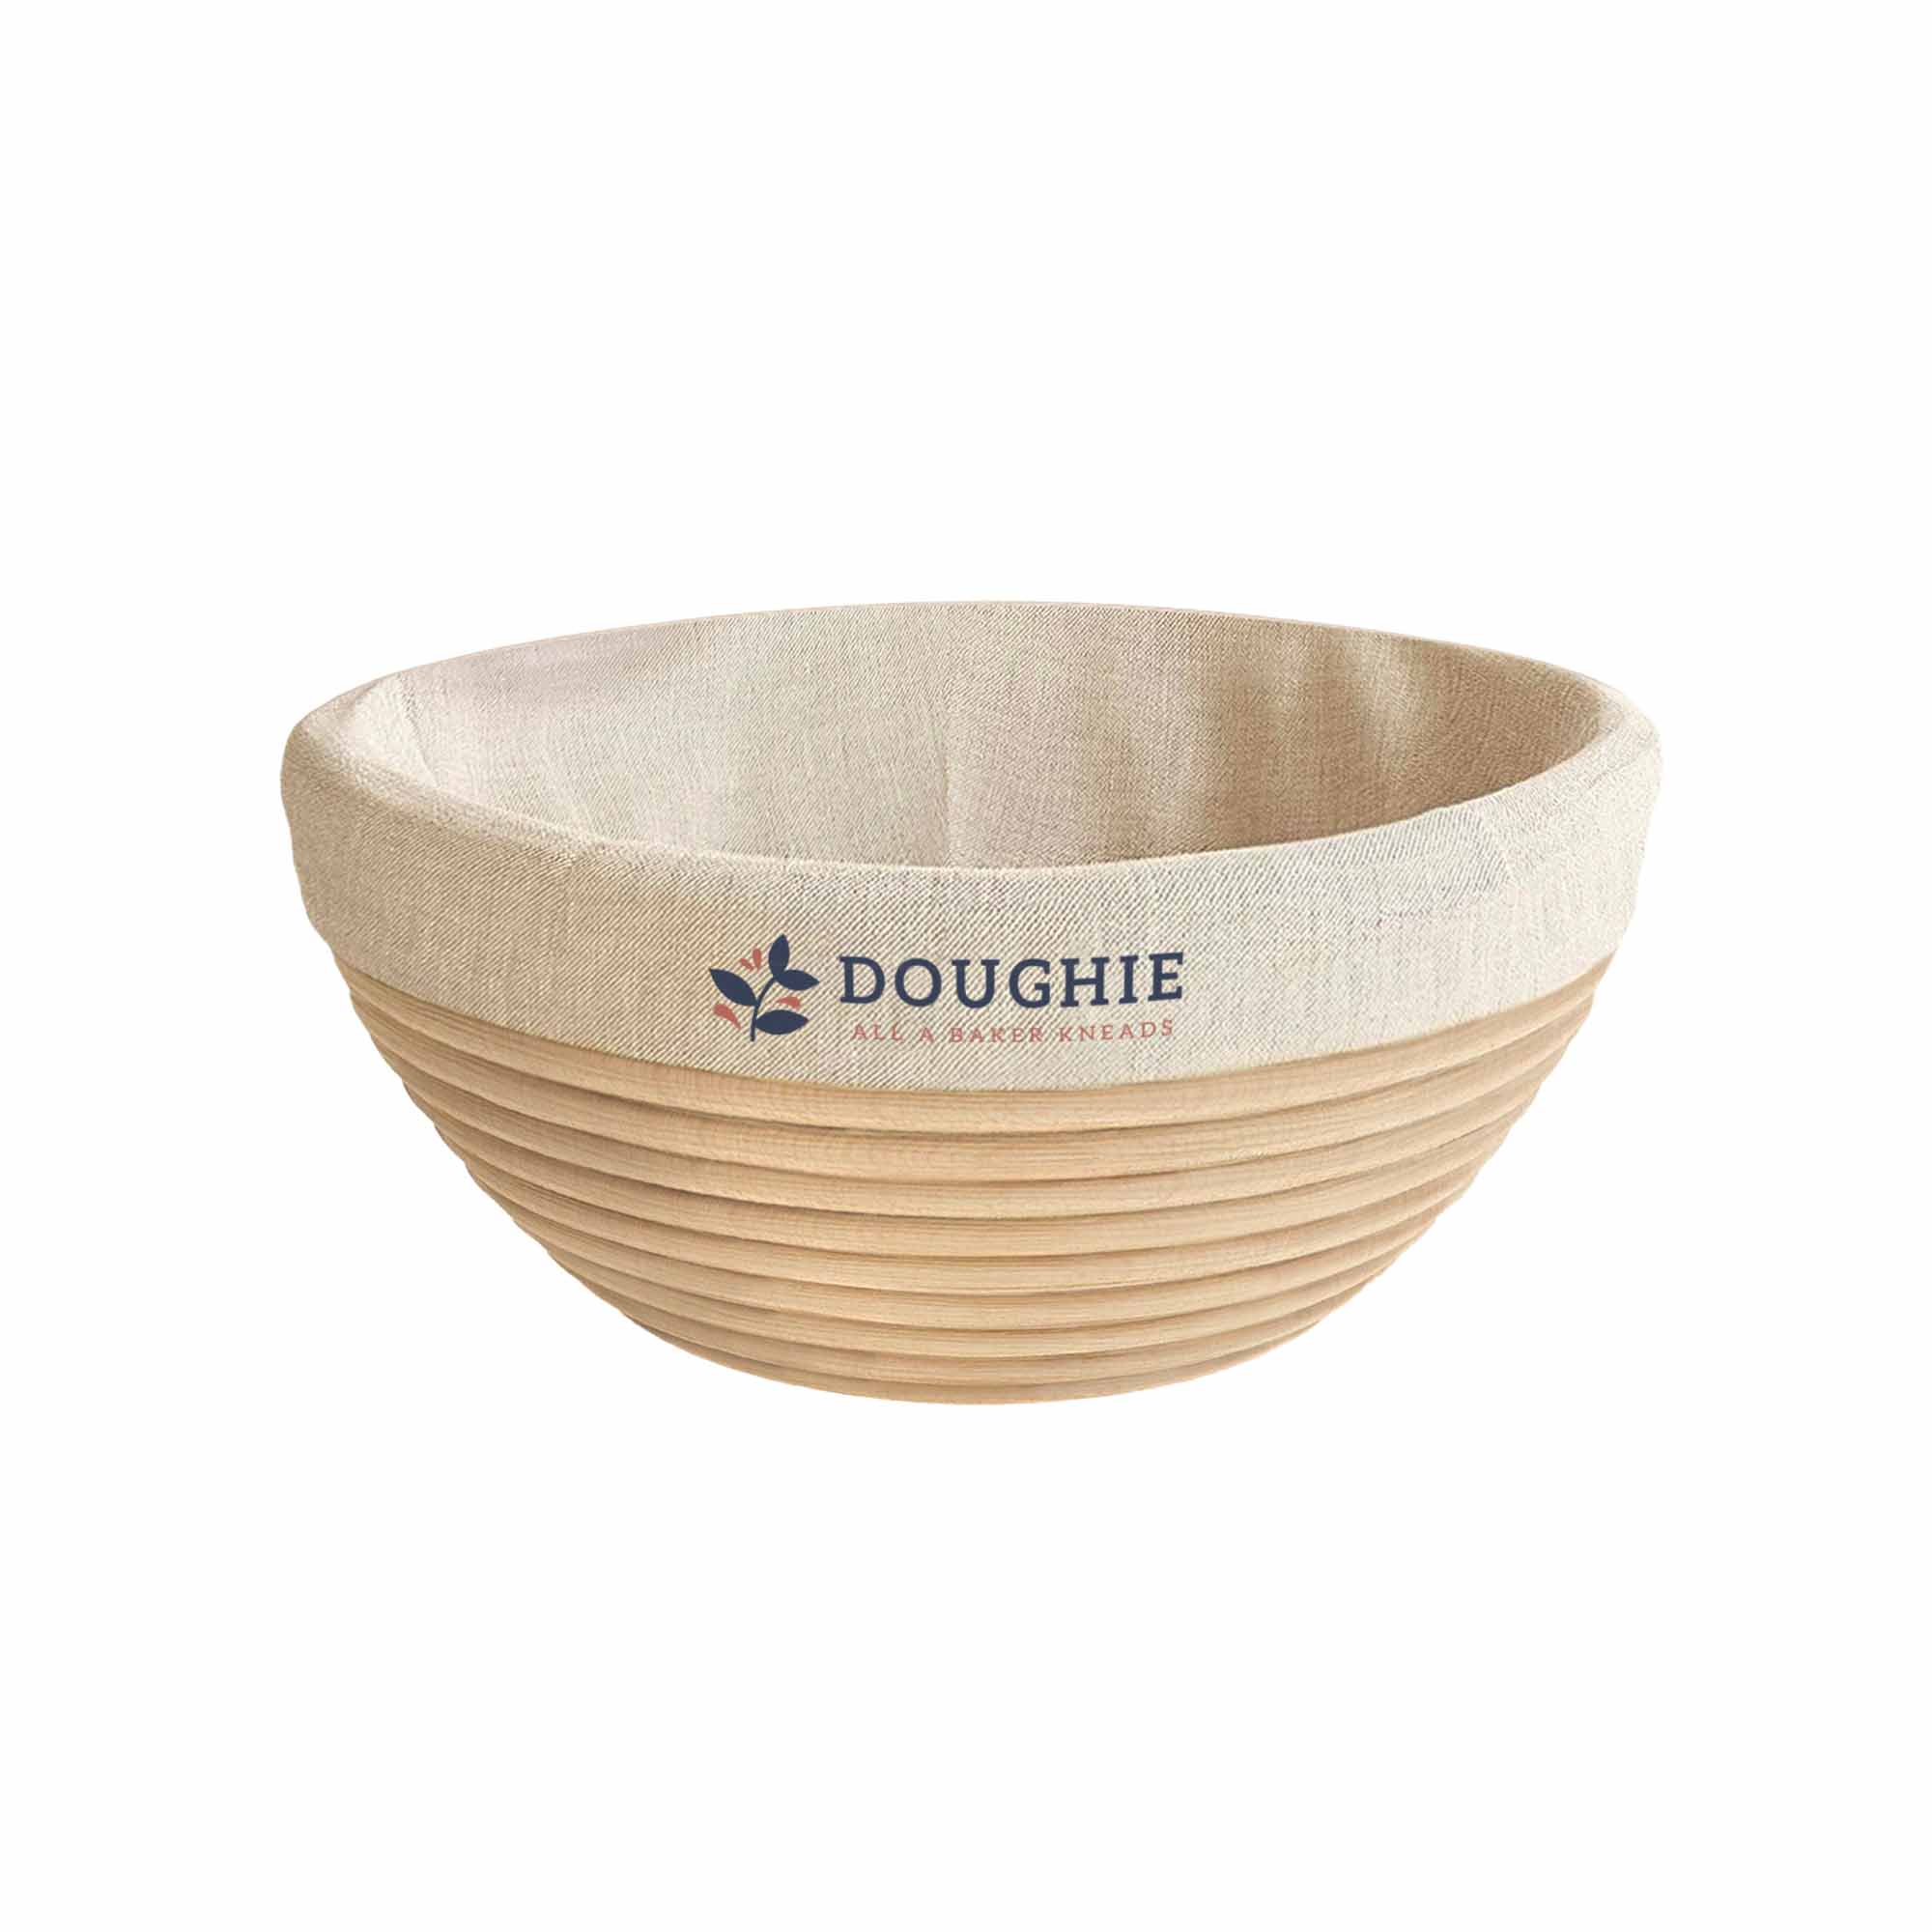
Proofing baskets
Round proofing basket (height 8cm)
Original price was: € 11,95.€ 10,45Current price is: € 10,45. -
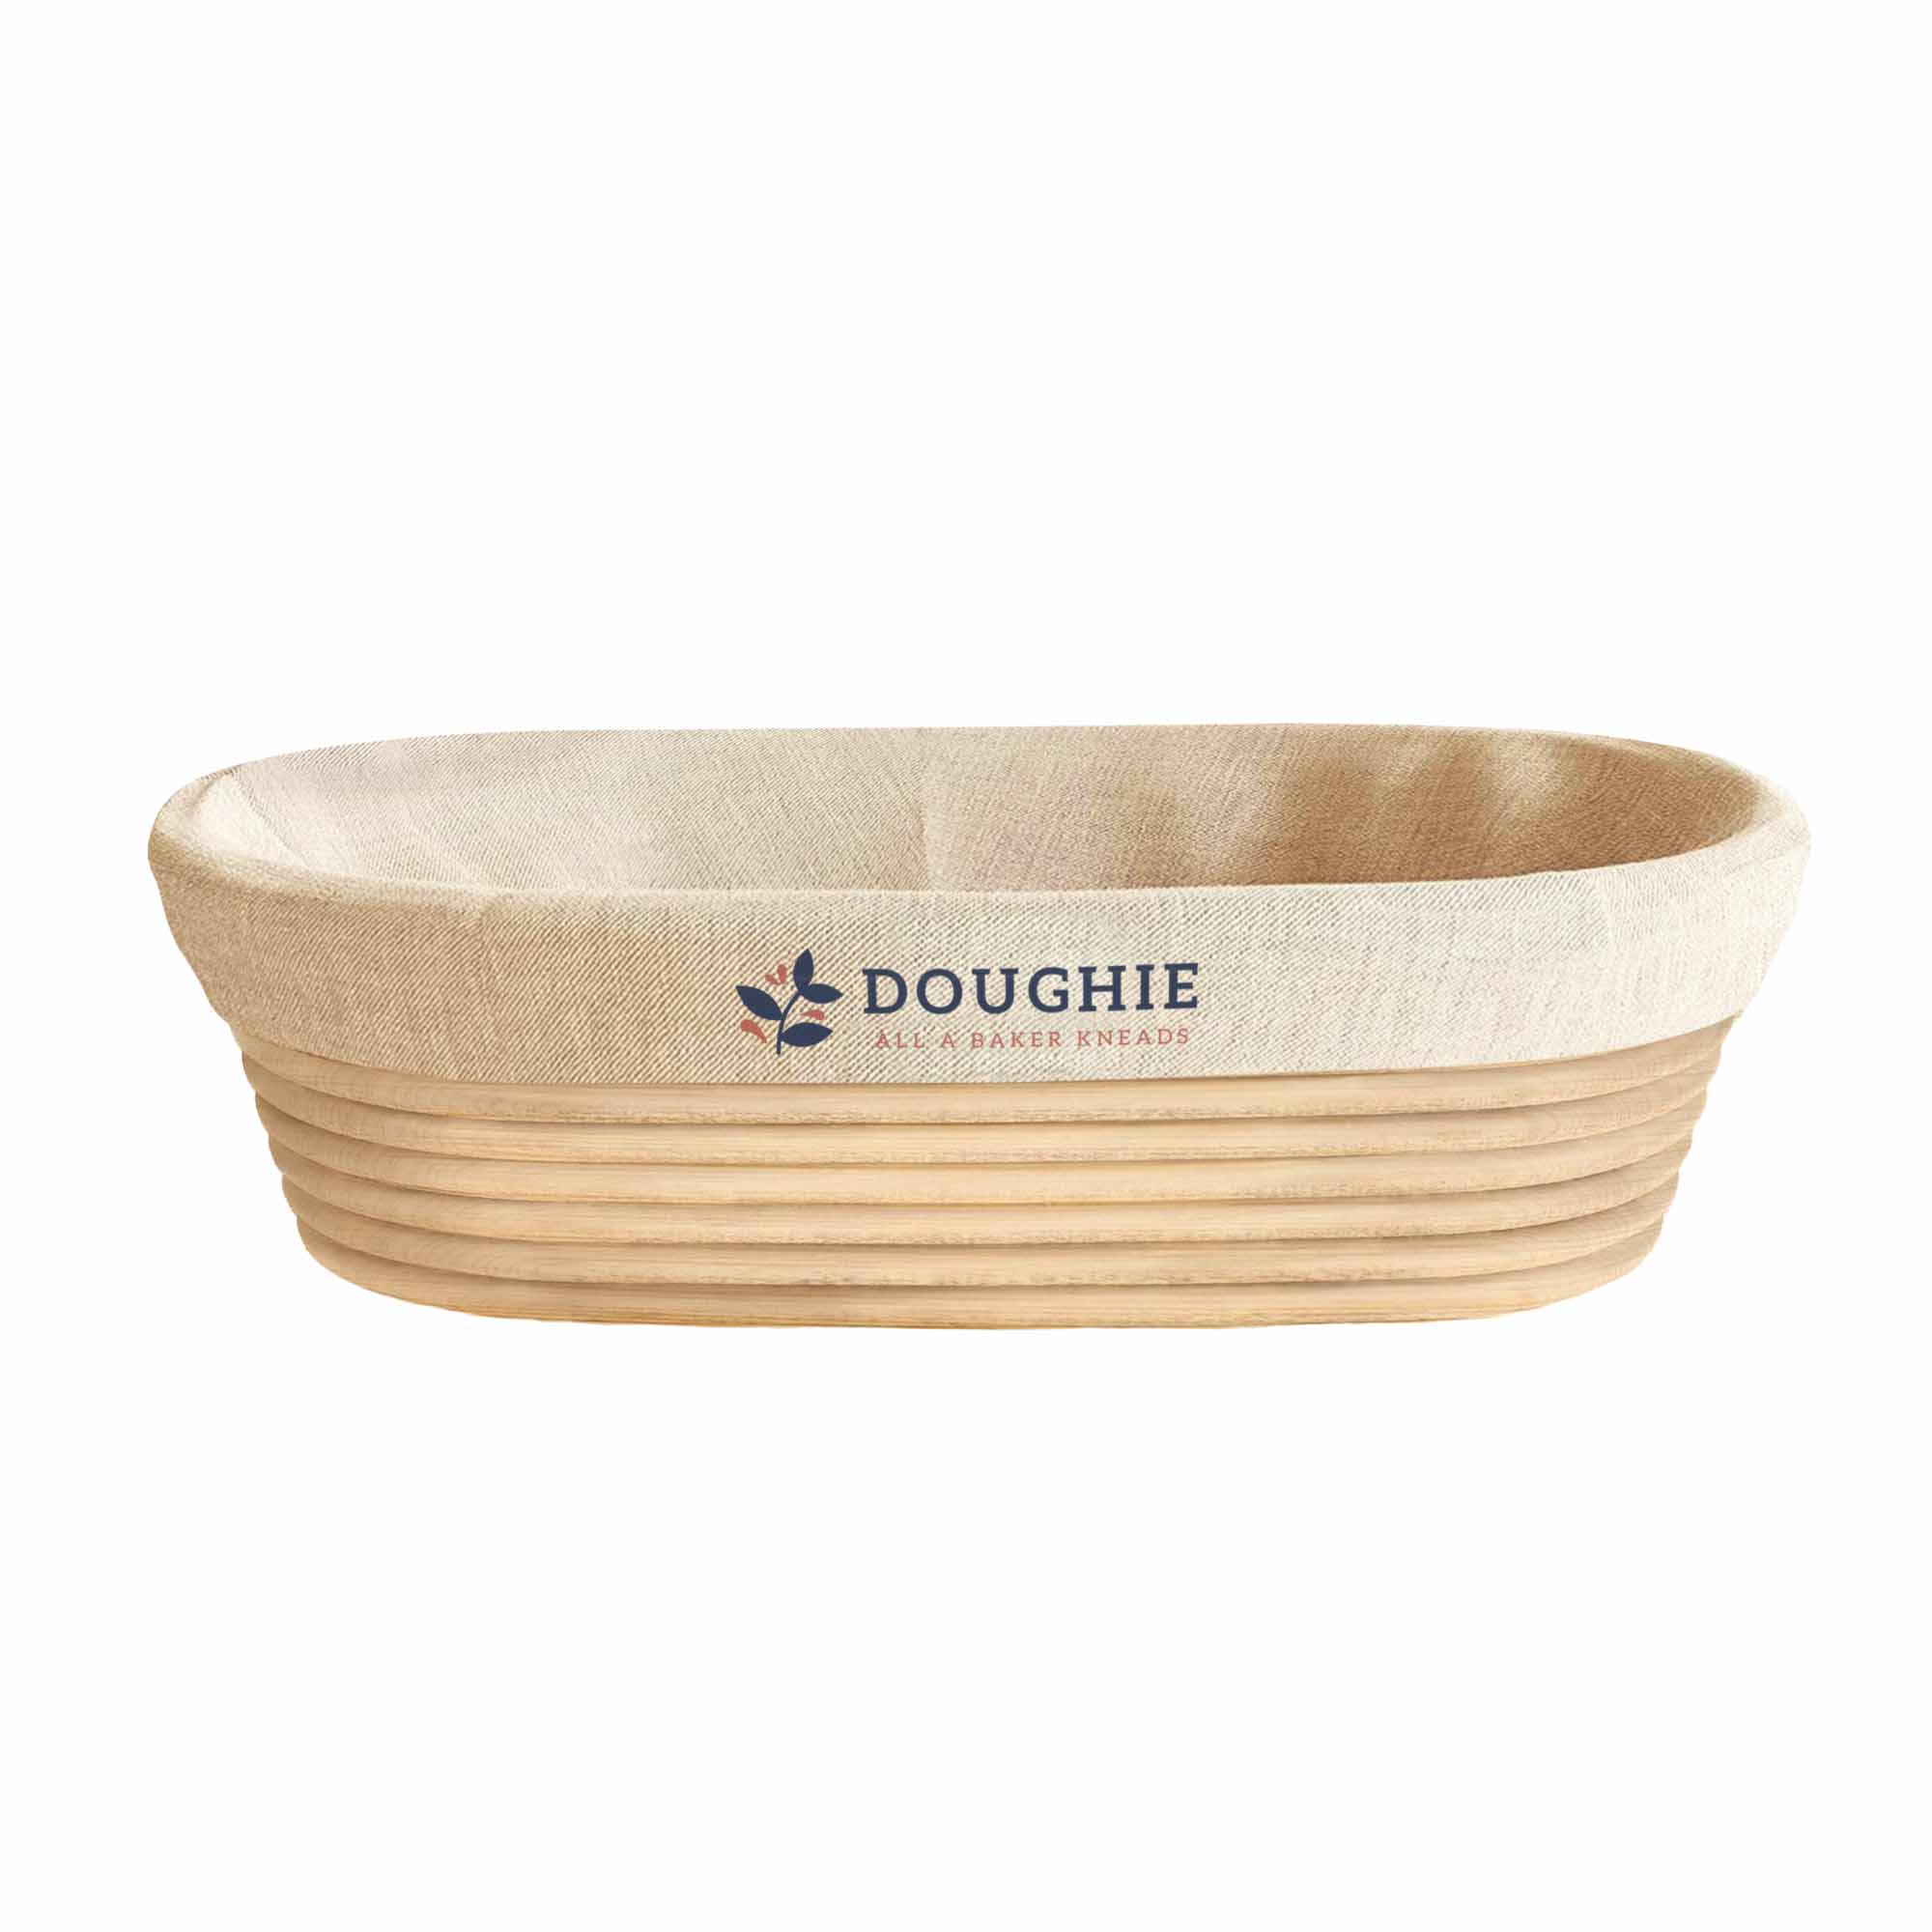
Proofing baskets
Oval proofing basket (width 14cm)
Original price was: € 12,95.€ 11,45Current price is: € 11,45.