
14May
How do you best make sourdough bread? A complete step-by-step plan


Making and shaping the sourdough dough are crucial steps in the process of baking sourdough bread.
Mixing:
Start by mixing the wheat flour (400 grams) and rye flour (200 grams) with the water in a large mixing bowl. Make sure to add the water gradually while mixing so that you fully hydrate the flour. This so-called autolysis process is important because it gives the enzymes in the flour time to break down the proteins, resulting in a dough that is easier to shape and has a better structure. Let the mixture rest for 30 minutes to complete the hydration.Add starter and salt:
After the autolysis period, it is time to add the active sourdough starter and the salt. The salt not only enhances the flavor, but it also helps to regulate gluten development and control the yeast activity in the starter. Knead the dough thoroughly—either by hand or with a dough mixer—until all ingredients are well incorporated and the dough is homogeneous. This may take a while; you are looking for a dough that feels smooth and slightly sticky.First Rise (Bulk Fermentation):
Now let the dough rise at room temperature for 2-3 hours. During this period, you should perform 3-4 stretch folds, ideally every 30 minutes.

This process not only aids in gluten development but also ensures that gases are distributed evenly throughout the dough, contributing to a uniform structure and rising. Begin each stretch & fold by lifting one side of the dough and folding it over itself. Rotate the bowl a quarter turn and repeat until all four sides are folded. This also helps to maintain an even temperature within the dough.
Forms:
After the bulk fermentation, turn the dough out onto a lightly floured work surface. Now gently shape the dough into a ball or another desired form. It is important not to degas the dough too much, as the air built up in the dough contributes to the airy texture of the final product. Use gentle hand movements and let the natural tension of the dough do the work.Second Row:
Place the shaped dough in a proofing basket or in a bowl lined with a lightly floured tea towel. Ensure the seam of the dough is facing upwards in the basket so you can cut it later. Now let the dough rise at room temperature for 1-2 hours, depending on the room temperature and the activity of your starter. You are looking for a dough that has almost doubled in size. For even better flavor development, you can also let the dough rise in the refrigerator overnight. This slows down fermentation and enhances the subtle acidic notes of the bread.



Preheat
Preheat your oven to 235°C with the Dutch oven inside. This must be done at least 30 minutes before baking to ensure an even and hot environment.Notches
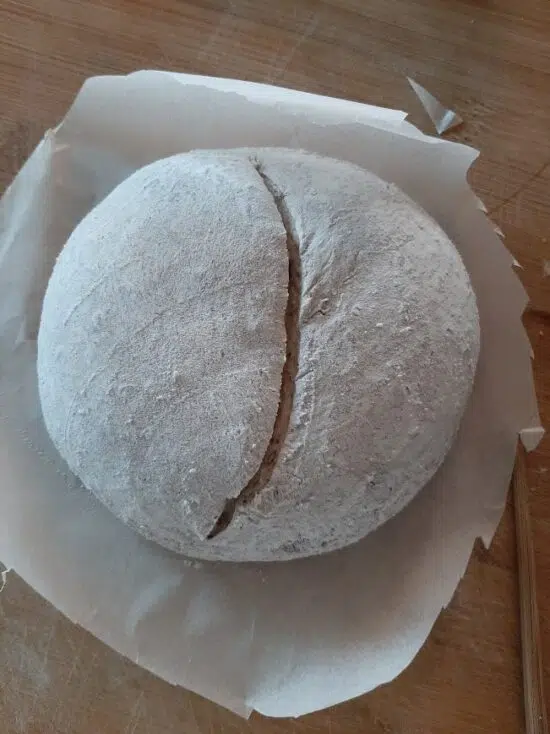
Make an incision of 10–20 cm in the dough with a sharp pastry knife. This helps form the 'ear' of the bread, ensuring a beautiful presentation.

Baking
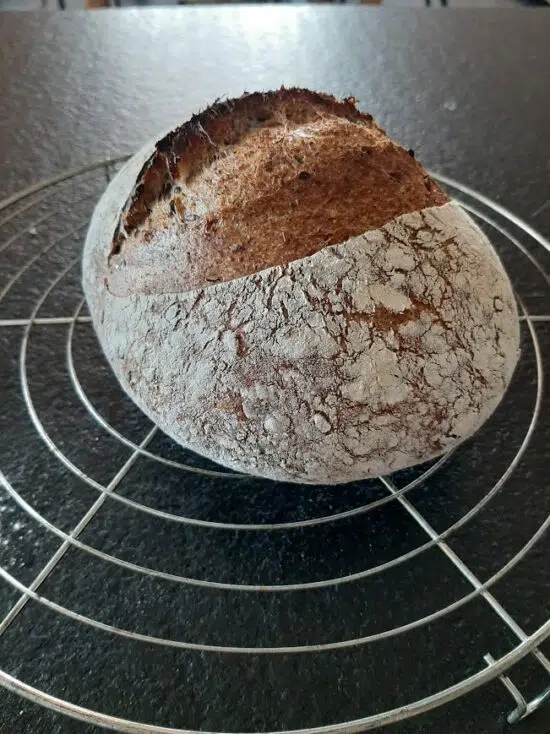
Carefully remove the Dutch oven from the oven. Place the dough inside and spray in some liquid to create steam. Cover and bake for 30–35 minutes. Then remove the lid and bake for another 7 minutes at 275°C to obtain a golden brown crust.Cool down
Let the bread cool completely on a wire rack for at least 30 minutes before slicing. This is crucial for the texture and flavor.
Baking sourdough bread is a rewarding experience that requires patience and dedication. By following these steps, you will not only create a delicious loaf, but also a moment of pride in your baking adventures. Happy baking!